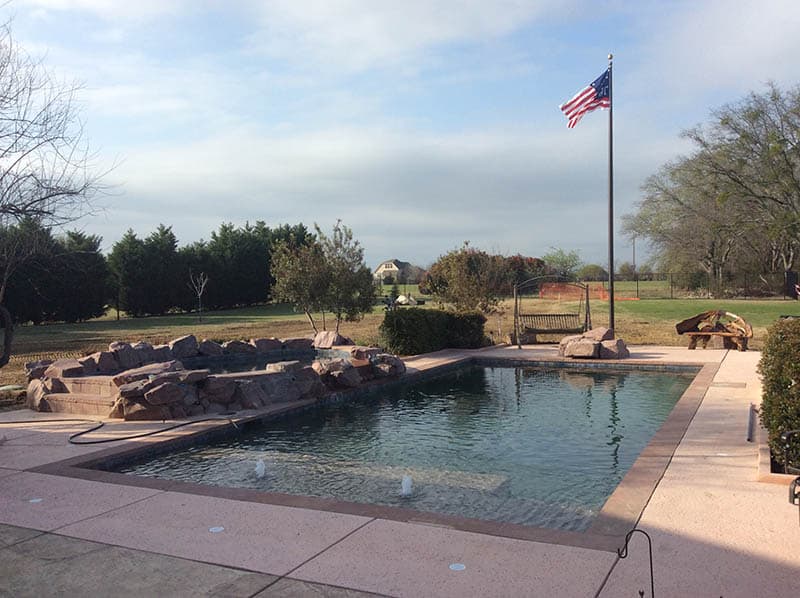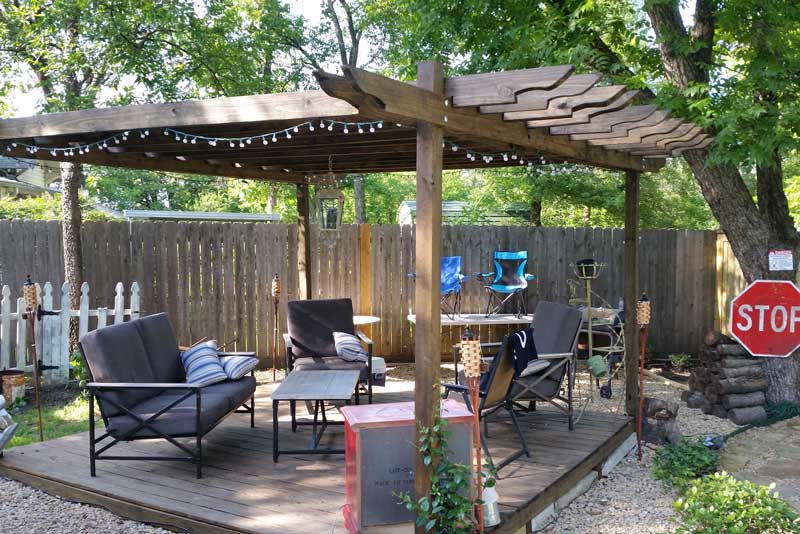
Understandably, Gunite Pools are an extremely popular choice across the United States, specifically in the Midwest in the likes of Texas and Southern Oklahoma where the weather is nice and warm.
In this post, we explain everything you need to know about Gunite Pools and outline exactly how to build a Gunite Pool along with a direct comparison of Gunite Vs. Concrete.
Additional Resources: Pools & Hot Tubs, Swimming Pool Gallery
What is a Gunite Swimming Pool?
If you are considering installing an inground swimming pool in your garden or outside space, one of the most popular types of swimming pools is a Gunite pool.
Some of the benefits of a Gunite Swimming Pool include the durability and the flexibility they offer due to the fact they can be made in just about any shape or size.
Durability
A Gunite in-ground swimming pool utilizes a rebar framework which is sprayed over with a mixture of sand and cement under very high pressure.
This high-pressure spray packs the mixture so you end up with more concrete material per cubic yard.
This method is preferred above the alternative of pouring concrete which needs an entire wooden framework which holds the overall shape of the basin.
Gunite is far more durable and robust, meaning that a Gunite swimming pool is made to last.
Fits to any Shape or Space
The flexibility of a Gunite swimming pool also means that they can be made to fit any desired shape or space that you might have available.
The possibilities are only limited by your imagination.
Variety of Finishes
Another distinct advantage of Gunite pools is that owners can select from a range of different finishes to help coordinate the theme of the outdoor living space.
The most common interior finishes are plaster, quartz, glass, and pebble.
Over the years the quality of plaster has deteriorated to the point that we don’t use it as a finish anymore.
Pebble finishes offer the best value and low maintenance plus they have a more prestigious look and feel for your Gunite swimming pool.
We have pools that were finished with Pebble 20 years ago and still have the original finish. No other product will perform this good.
Added Features
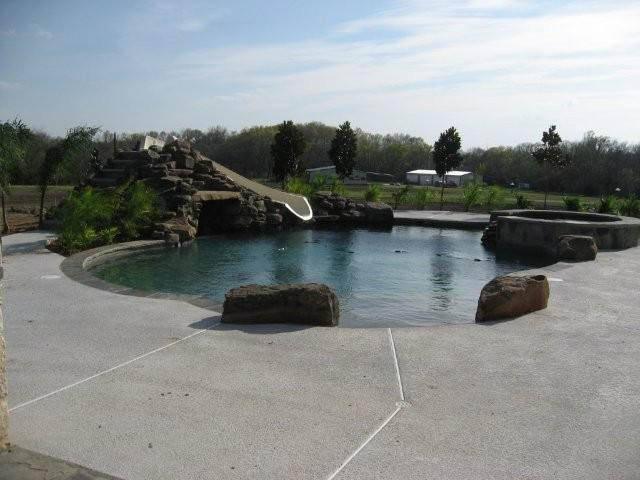
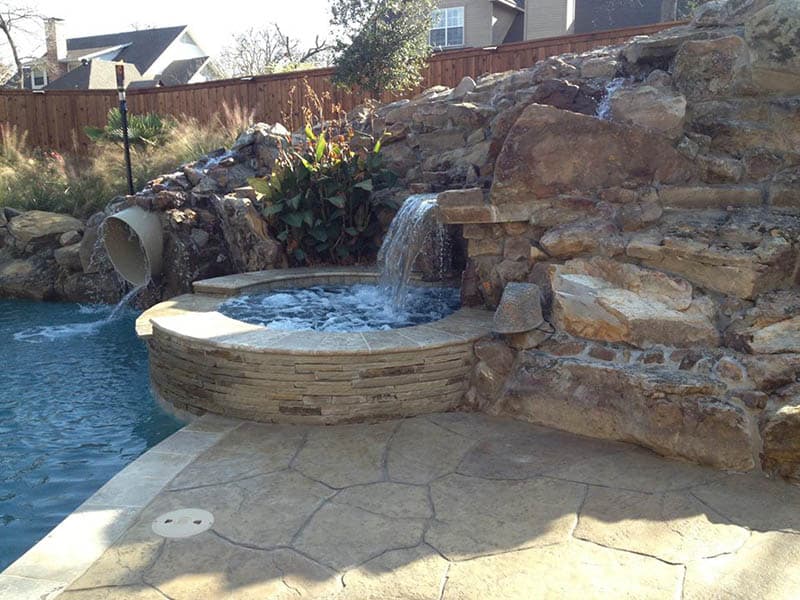
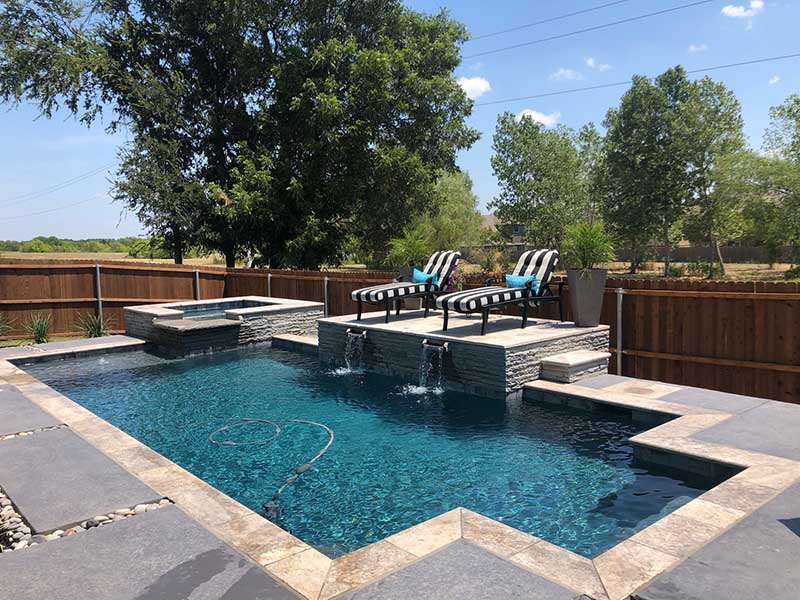
In terms of additional features, there are many additions you can opt for when choosing Gunite as your type of swimming pool. These include waterfalls, tanning ledges, grottos, bar stools, custom steps, and benches.
Whatever your individual style or budget, with a Gunite installation, you can extend the design of your existing space with your new Gunite swimming pool. This makes a Gunite pool installation one of the most popular for homeowners.
Because each Gunite pool can be completely custom made for your space and your individual requirements, it is always best to consult with a Gunite pool expert in your area in order to get an exact cost for your Gunite in-ground swimming pool.
Looking for pool conversions?
How Long Does It Take to Build a Gunite Swimming Pool?
The process of constructing a Gunite swimming pool includes the excavation, installation of rebar and plumbing, installation of the gunite, installing the tile and coping, installation of a concrete deck or pavers, installing the filter equipment and control system and finally the interior finish.
A Gunite swimming pool can take between 4 to 6 weeks for completion. The reason this may seem long when compared with other inground pool options is due to the time it takes to cure or set the Gunite. Proper curing is important so the gunite hydrates and reaches the designed compression strength.
How is a Gunite Swimming Pool Made?
A Gunite Pool is not the quickest type of pool to create, but it can deliver a lasting impression, specifically when you custom design the pool that fits precisely into the area you have and is finished in order to match the current surrounding space and theme.
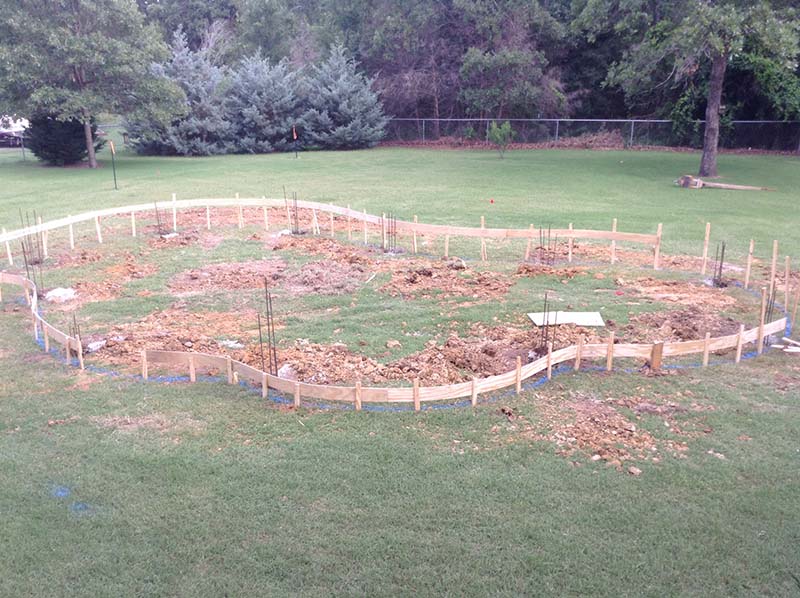
Excavation
The first physical step in the Gunite Pool build is the excavation. The entire process can take anything from a matter of hours to a couple of days depending on the space and condition of the land.
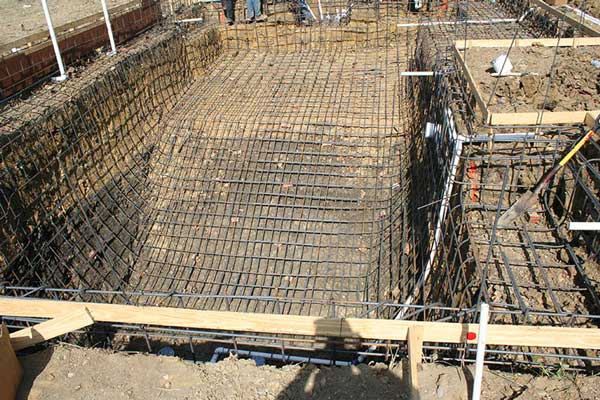
Rebar Placement
The second step in the process is to put together the steel bar cage, also typically referred to as Rebar. This will eventually become encased in the Gunite shell. This is ideal because it forms a super-strong structure for the Gunite pool installation.
Plumbing
Prior to the placement of the Gunite shell, the plumbing needed for the pool needs to be installed. The plumbing is usually installed at the same time as the steel, but due to some of the plumbing elements that need to be supported by the steel and some are under or behind the steel.
It is normal that there will be an inspection carried out to check to see that the rebar is electrically bonded per the national electrical code. This inspection must be done prior to installing the gunite.
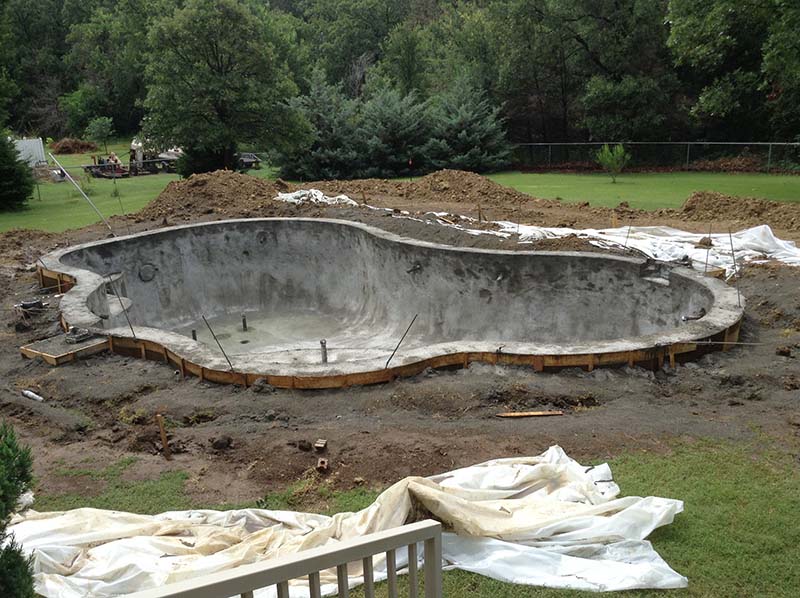
Placement of the Shell
The Gunite is then shot into place using high velocity compressed air pushing the material through a nozzle. It is then shaped and straightened using a range of tools. Following this stage, you can truly start to see your new Gunite swimming pool starting to take shape.
Cure Time
The curing process is time-sensitive and is one element of building a Gunite swimming pool that cannot be ignored. The curing process is where the specific molecules within the Gunite bond and become hydrated with the water.
The better hydrated or cured the Gunite is the stronger and more robust it is considered to be. Gunite is considered fully cured in 28 days.
Coping and Tiling
Interior finishes of gunite pools need to be kept underwater or wet. Therefore it is normal that the Gunite pools have tile installed along the top six inches of the pool. This is to transition from water to air and keep the finish wet.
Coping is either a stone or brick border that goes around the entire perimeter of the swimming pool. Coping is the transitional material that connects the patio to the pool.
Traditionally brick has been used for coping but the current style is to use Travertine, Leuders or Flagstone. Also, if there are waterfalls or other boulder work, this would be installed at this time.
Installation of the Patio
This step involves the preparation of the base underneath the patio space by the placement and compacting of the stone or cushion sand.
The Patio is traditionally poured concrete which can be dyed a custom color and have patterns stamped into it.
Pavers are becoming more and more popular in place of poured concrete and are available in many shapes and different materials.
Plastering
This is typically the last phase of a Gunite installation. The interior surface of the Gunite pool is applied.
This involves a specialist mixture being pumped through a hose and shot onto the shell of the Gunite pool which is then hand-finished and smoothed. Again, the Pebble finishes are the current style and the best value.
Start-Up
The water chemistry will need to be balanced on a timely basis.
Proper startup water chemistry is critical during the initial curing of the interior finish.
There are other aspects of maintenance that will need to be accounted for. Some brushing in order to ensure that any dust is removed from the surface is one of these tasks.
Proper startup and weekly maintenance is important and ensures the long life of the finish.
Benefits of an Inground Gunite Pool
Durability – Gunite swimming pools, when designed and built properly, are considered to be the most robust and long-lasting types of inground pools. Gunite pools can last a lifetime and therefore can be remodeled to change colors or style multiple times.
Flexibility – In terms of fitting a specific space or shape, a Gunite pool offers flexibility like no other type of inground pool. They can be made as large or small as required. Because Gunite pools are designed and constructed on-site, there is almost a limitless flexibility.
Finishing – There are endless options when it comes to choosing the tile, coping and interior finish for your Gunite pool. Your pool will truly be a one-off custom pool designed to your specifications.
Is a Gunite Pool the same as a Concrete Pool?
Yes. Gunite is the process of placing the concrete mixture using high pressure compressed air to shoot it onto the surface of the pool. A gunite pool is a concrete pool but the concrete is shot in place not poured.
Gunite Vs. Shotcrete – What Are the Differences?
Shotcrete is concrete that is applied using the same procedure as gunite but with one difference.
Gunite materials, cement, sand , and aggregate are brought to the site dry, mixed and pumped dry through a hose into the pool where water is then mixed with the dry materials when they exit the nozzle.
Shotcrete materials are brought to the site already mixed including the water. The wet mixture is pumped through the hose and shot through a nozzle just like gunite. The only difference is the mixture is already wet before it reaches the nozzle.
Can Gunite Pools be painted?
This question usually comes up when the interior finish has deteriorated and in need of replacing.
If a high wear finish such as Pebble was installed when the pool was first built and proper water chemistry maintained, there would be no need to replace it for many years.
If regular white plaster was originally installed, you are probably going to be looking at replastering in about 5 years.
Painting is an option but not a good one. Painting requires very specific prep work to ensure proper adhesion and even then the paint might last 2 years at best.
If you decide to paint be aware that anytime in the future if you decide to replaster all the paint will have to be removed which requires sandblasting at a significant additional expense.
We don’t recommend painting and don’t sell paint to clients because it is a bad alternative as an interior finish and will cost you more money in the long run.
Additional Reading:
- Can my dog swim in my pool?
- First aide for chlorine exposure
- There are bugs in my pool
- What pool accessories do I need?
- Eco-Friendly swimming pool?
